Effective Techniques to Repair Pipe Threading Leaks
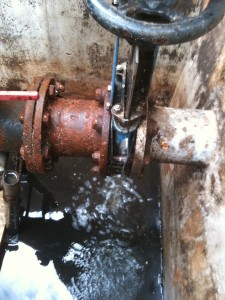
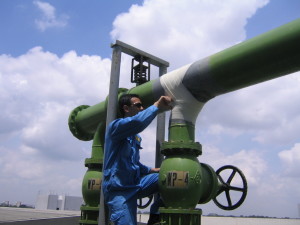
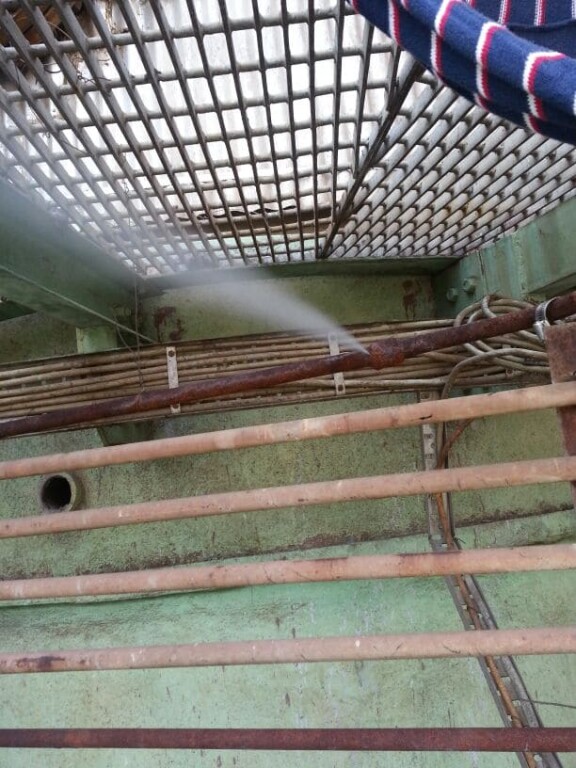
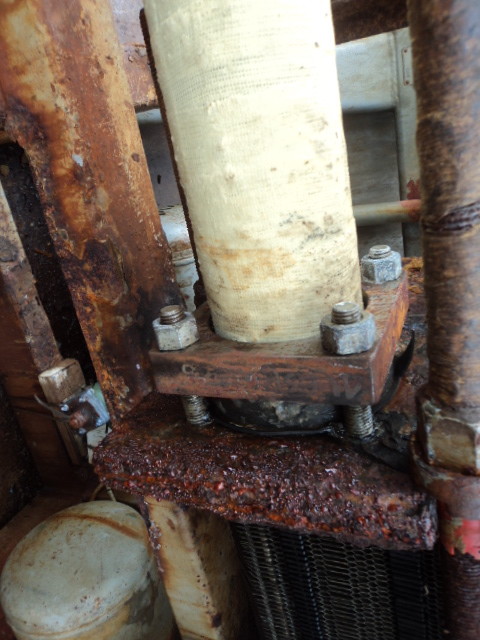
Here are some steps to help you deal with pipe bursts and pipe leaks. This article deals with temporary pipe repair instead of replacing it.
The water supply is under pressure, typically somewhere around 40 to 60 psi. A patch on a leak requires counter-pressure as well as a compressible material to help in molding it to the shape of the crack, hole or damage to the pipe.
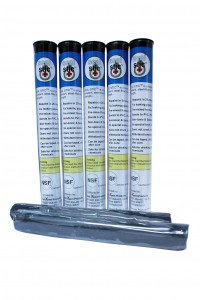
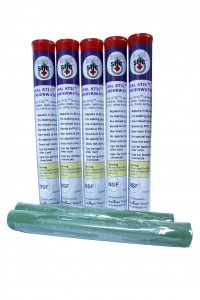
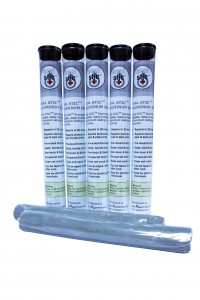
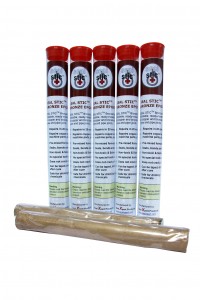
In ideal circumstances, you will be able to turn off the water supply before commencing the repair. Next, you will need a piece of patch material (e.g. Seal Stic quick cure epoxy stick) to cover the hole and the patch material must be bigger than the crack in the pipe.
Now a restraining device to hold the patch material in place is needed. An ideal device is a band clamp, Ultra Sealing Tape or Stainless Steel pipe clips. It must be the right size to fit around the pipe and be able to tighten down on the pipe.
Place the patch material over the hole and use stainless steel pipe clips to tighten them around the patch and the pipe. Ideally, place one pipe clip to the left and one to the right of the break and then a third directly over the break. Tighten them down enough to seal the leak, but not so tight that they crush the pipe especially if the pipe material is soft (e.g. copper pipes).
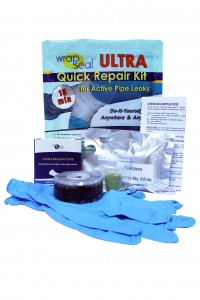
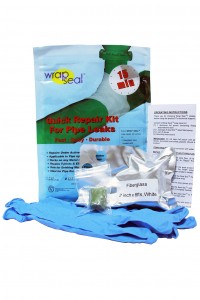
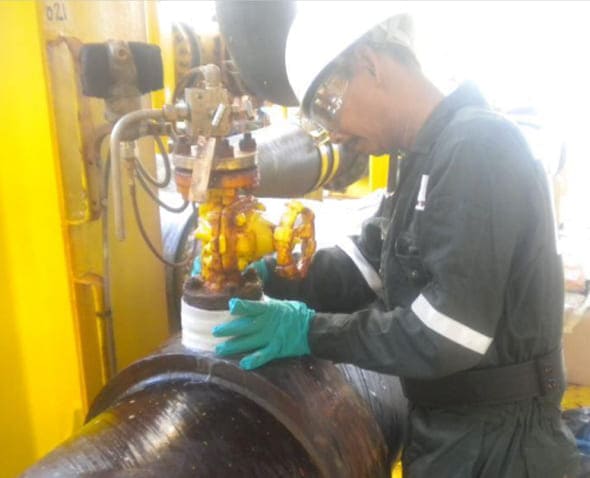
For permanent pipe repair, use resin coated fiberglass tapes (e.g. Wrap Seal leak repair kit) to wrap around the leak area. Turn the water back on and check whether your repair is working.
